You might want to go from Gmail to the business productivity package from Microsoft. This guidance aims to assist you in seamlessly transferring critical data to the new Office 365 environment. A detailed guide explaining to users how to transfer their calendars, contacts, and emails from Gmail to Office 365.
Exporting Your Emails from Gmail
The first step is to remove all your important emails, contacts, and calendar events from your Gmail account. We’ll be using Google’s Takeout service to pull this data out of Gmail and save it locally in an industry standard.MBox file format.
- Head over to takeout.google.com while signing into your Gmail account.

- Scroll down the page until you see Mail, and then check the box to select.
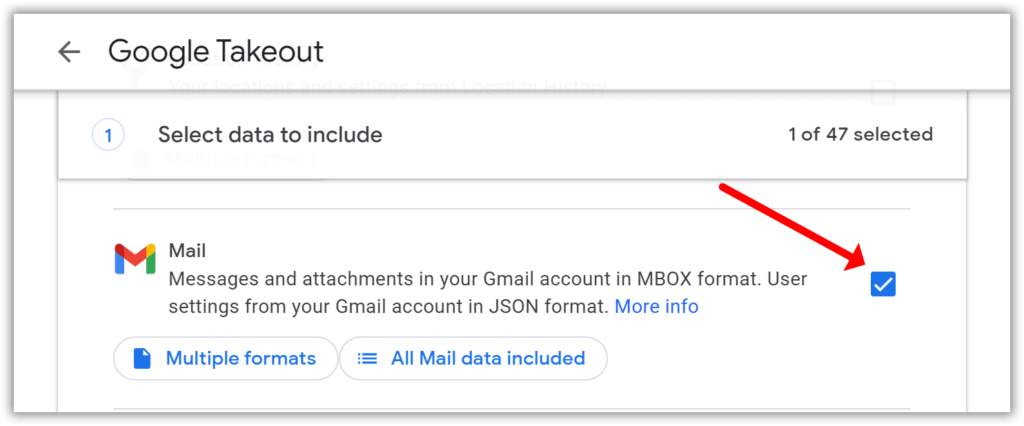
- Then, click “All mail” to grab all your inbox contents. You can also choose to pull your “Contacts” and “Calendar” information at this stage as well.

- Once your selections are made, hit the “Next step” button, and Google Takeout will start building your export file. Once complete, you’ll be able to download the zipped folder containing your .mbox files.

Set up Thunderbird Email Client
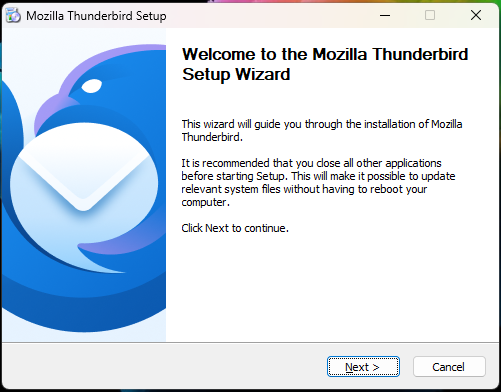
Now that we have our exported Gmail data safely stored locally, the next step is to configure a desktop email client that can read the .mbox format. For this guide, we’ll be using the free and open-source Thunderbird.
- Head to www.thunderbird.net and download the installer for your operating system.

- Run through the installation process, then launch Thunderbird to set up your Office 365 account.
- Go to “Accounts” in the menu and select “Add Mail Account.”
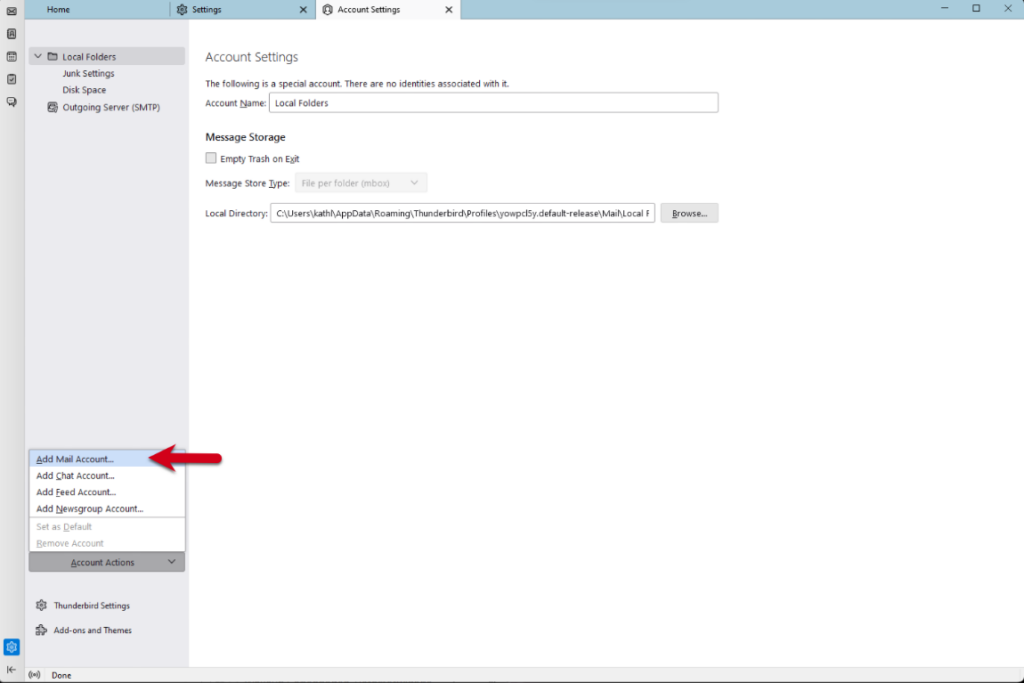
- Choose the “Manual configuration” option, enter your full Office 365 email address and password, and enter “Outlook.office365.com” as the incoming and outgoing mail server.

- Once finished, test that you can send and receive emails through Thunderbird to your Office 365 inbox before proceeding.
Importing Gmail Data into Thunderbird
Now, it’s time to import the exported. Mbox files into Thunderbird. We’ll be using a handy add-on to streamline the process.
- Open Thunderbird.
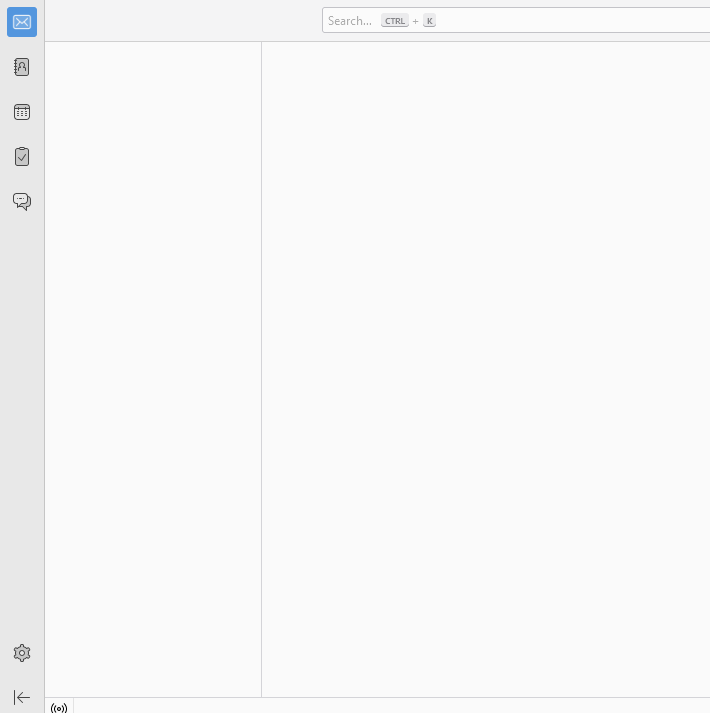
- Go to Display the Thunderbird Menu >> Add-ons.

- In the Extensions tab, Search and Download ImportExportTools NG.

- Now, go to the Thunderbird main screen, and Right-click on the Local Folders, select the New Folder option.
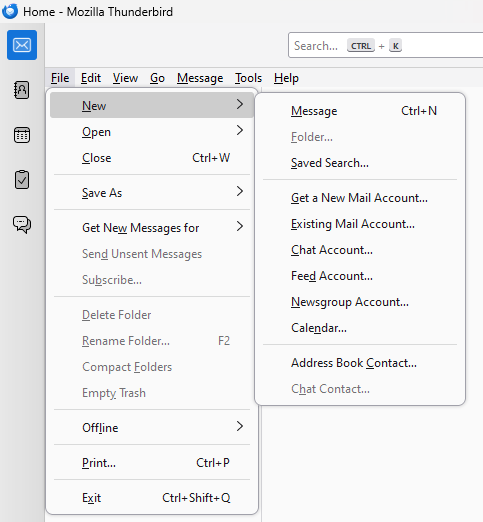
- Set a name to create a Folder.
- Here, Right-click on the newly created folder >>ImportExportTools NG >> Import MBOX file.
- Choose the import ways and click ok.
- Select your MBOX file and tap Open.
- You can check the export Gmail email to Thunderbird.
Import Gmail to Outlook
The core migration happens now – taking those imported Gmail emails and copying them over to your live Office 365 account.
- Prepare Gmail for Connecting to Outlook.
- Add your Gmail account to Outlook.

- In the Outlook app, choose File > Add account.
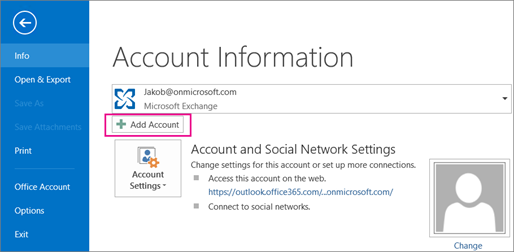
- On the Auto Account setup page, enter your name, Your Gmail address, and your Gmail password and then choose next.

- Click Finish, Outlook syncs with your Gmail account. The email in your account will appear in Outlook, right below your Outlook mailbox.

Verifying Migration
Take a moment to double-check that everything migrated correctly. In Outlook on the web, verify all emails, contacts, and calendar events made over correctly. You may need to sync a calendar or refresh a contacts folder if items are missing. Check for any duplicate or misfiled information as well. Also, address any email rules, filters, or folders you had configured in Gmail – these won’t transfer automatically. Once everything looks in order, you’ve successfully migrated over from Gmail!
Organizing and Customizing Your Office 365 Account
Now that the heavy lifting is done, it’s time to get acquainted with your new Office 365 home. Take some time to organize and manage your migrated emails, contacts, and calendar events properly within Outlook’s powerful tools. You can also personalize your Office 365 experience through settings like adding a profile picture or background image.
Explore the customization options for the various apps – like whether to show your calendar in Week or Month view. Don’t forget to enhance your security by enabling multi-factor authentication as well now that you’re using Office 365 commercially.
Additional Tips
Expect some challenges; no migration process is flawless.
- If issues arise, start with basic troubleshooting steps like syncing or refreshing folders again. Monitor your inbox for any migration-related emails as well. You can also check Microsoft’s online help resources.
- One key thing to enhance your productivity after the move is leveraging Office 365’s collaboration features.
- Use tools like Teams, SharePoint, and Planner to help your team work better together in the cloud.
These additional services offer many opportunities to boost business efficiency.
Your New Chapter with Office 365
This guide walked through the complete process of migrating user data from free and personal Gmail accounts over to the more robust Office 365 environment suited for business and team use.
The major steps involved extracting information to local files using Google Takeout, setting up Thunderbird as an import/migration tool, transferring data between programs, and verifying successful migration. Users can now get settled into customizing and enhancing their new Office 365 experience.
While migration comes with challenges, sticking to the outlined steps and troubleshooting issues should help users smoothly make the switch from their personal Gmail accounts over to Microsoft’s business productivity tools and services hosted within Office 365. Thank you for following along – all the best with your new Office 365 experience.
Interested in a smoother, more secure Office 365 experience? Learn more about IMS Nucleii’s expert managed services and elevate your team’s collaboration.
